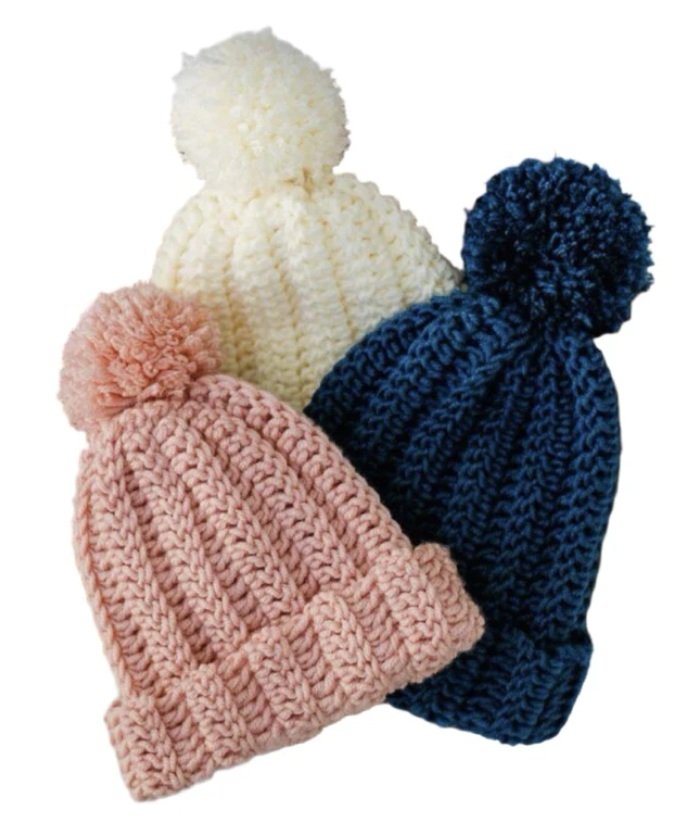
Hello, dear, and welcome to Bernat Crochet Patterns! Today we are making something small and snuggly: an easy ribbed beanie for the little ones in your life. If you can make a single crochet, you can make this hat, and it is a lovely way to use up a ball of soft worsted weight yarn.
The trick is that this beanie is not worked in the round at all. You crochet a flat rectangle sideways, using single crochet in the back loop only, and that is what creates the stretchy ribs. Then you fold the rectangle, seam it into a tube and gather the top closed. No increases, no counting rounds.
Because the ribbing stretches, this hat is very forgiving, which is exactly what you want for growing heads. I will show you how to make a small swatch and use it to size the hat for a baby, a toddler or an older child, so it fits no matter which yarn and hook you use.
It is also a wonderful first project for a beginner and a quick, satisfying make for anyone who has been crocheting for years. Put the kettle on, grab your hook and let\’s make a cozy little hat together.
Supplies
- Soft worsted weight (#4) yarn
- 5.5 mm (I-9) crochet hook, or the size recommended on your yarn label
- Measuring tape
- Scissors
- Tapestry needle
- Pompom maker or a piece of cardboard (optional)
Abbreviations (US terms)
| ch | chain |
| sl st | slip stitch |
| sc | single crochet |
| st(s) | stitch(es) |
| BLO | back loop only |
| * * | repeat the steps between the asterisks |
Sizes
These are typical measurements. If you can, measure the child\’s head around the forehead and use that number instead.
| Size | Head circumference | Hat height |
|---|---|---|
| 0 to 3 months | 13 to 15 in | 5 in |
| 3 to 6 months | 15 to 16 in | 5.5 in |
| 6 to 12 months | 16 to 17 in | 6.5 in |
| Toddler | 17 to 18 in | 7 in |
| Child | 18 to 20 in | 7.5 in |
Pattern notes
- The hat is worked flat and sideways. The length of each row becomes the height of the hat, and the number of rows becomes the distance around the head.
- The ch 1 at the beginning of each row does not count as a stitch.
- From Row 2 on, every sc is worked in the back loop only, including the first and last stitch of the row.
- Ribbing stretches, so the finished hat should measure about 2 inches less around than the head it is made for.
Instructions
Tick each step when you finish it: the page remembers where you stopped.
- Swatch Ch 16. Sc in the 2nd ch from the hook and in each ch across (15 sc). Then work 15 more rows as for Row 2 below. Lay the swatch flat without stretching. Count how many stitches fit in 2 inches along a row and divide by 2: those are your stitches per inch. Count how many rows fit in 2 inches and divide by 2: those are your rows per inch.
- Plan your hat Multiply the hat height by your stitches per inch and round to a whole number: that is how many sc each row will have. Your foundation chain is that number plus 1. Next, take the head circumference (use the middle of the range if you cannot measure), subtract 2 inches and multiply by your rows per inch. Round to the nearest even number: that is how many rows you will work. Just to show the math, if your swatch had 4 stitches and 4 rows per inch, a toddler hat would be 28 sc per row (ch 29) and 62 rows.
- Row 1 Ch your planned number. Sc in the 2nd ch from the hook and in each ch across.
- Row 2 Ch 1, turn. Sc BLO in each st across. (Same number of sts as Row 1)
- Rows 3 and on Repeat Row 2 until you have your planned number of rows. Wrap the piece around the child\’s head (or check your measurement) before you seam. Do not fasten off.
- Seam Fold the piece in half so Row 1 lines up with the last row, with the side you want on the outside of the hat facing in. Ch 1 and sl st through both layers along the whole edge, going through the back loop of each st of the last row and the free loop of the matching foundation ch. Fasten off and turn the hat right side out.
- Close the top Cut a long piece of yarn and thread it onto the tapestry needle. Choose one open end of the tube for the top. Weave the yarn in and out through the ends of the rows all the way around that edge, then pull firmly to gather the top closed. Take a couple of stitches across the center to secure it, knot on the inside and weave in the end.
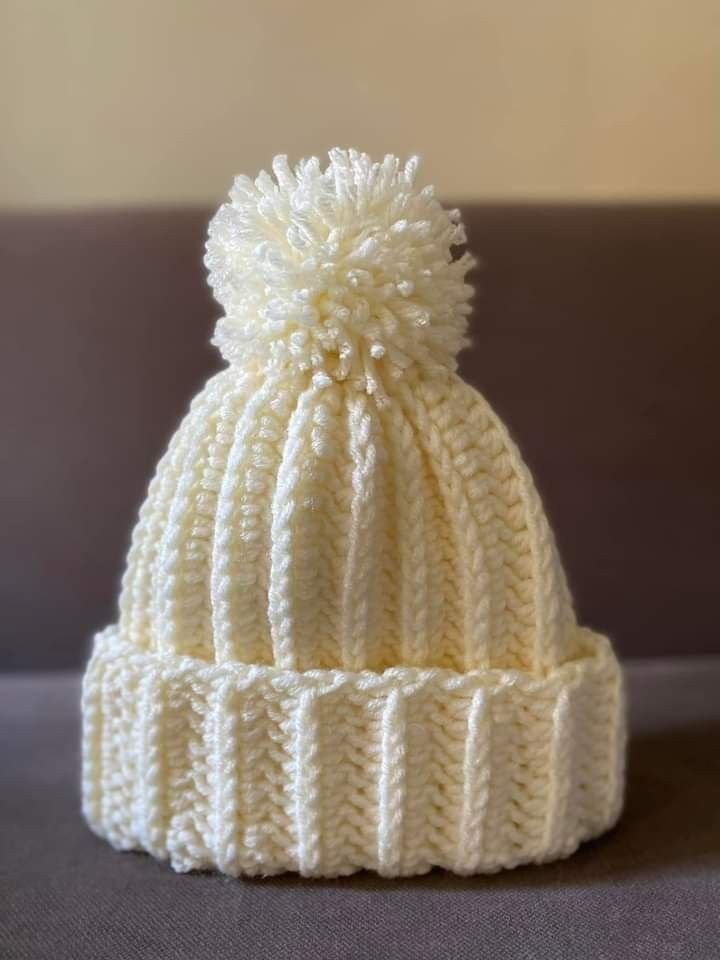
- Finish Weave in all remaining ends. If you like, make a pompom and sew it to the top of the hat.
Tip: Chain the foundation a little loosely, or use a hook one size larger just for the chain. A tight chain makes the seam edge stiff, and you want the whole hat to stretch.
VIDEO TUTORIAL
And just like that, you have a sweet ribbed beanie! It is so rewarding to see a flat rectangle turn into a real hat in a few minutes of finishing. Once you have made one, you will find yourself making them in every color.
Keep a note of your swatch numbers and your yarn, and next time you can skip straight to the planning step. Since the math works for any head measurement, the same method will carry you from newborn hats all the way up to bigger kids as they grow.
Thank you for crocheting with me today. Handmade hats make perfect gifts for school, holidays or chilly walks to the park, and they are always welcome at a local charity too. Save this page, and come back soon to Bernat Crochet Patterns for more warm and easy projects.