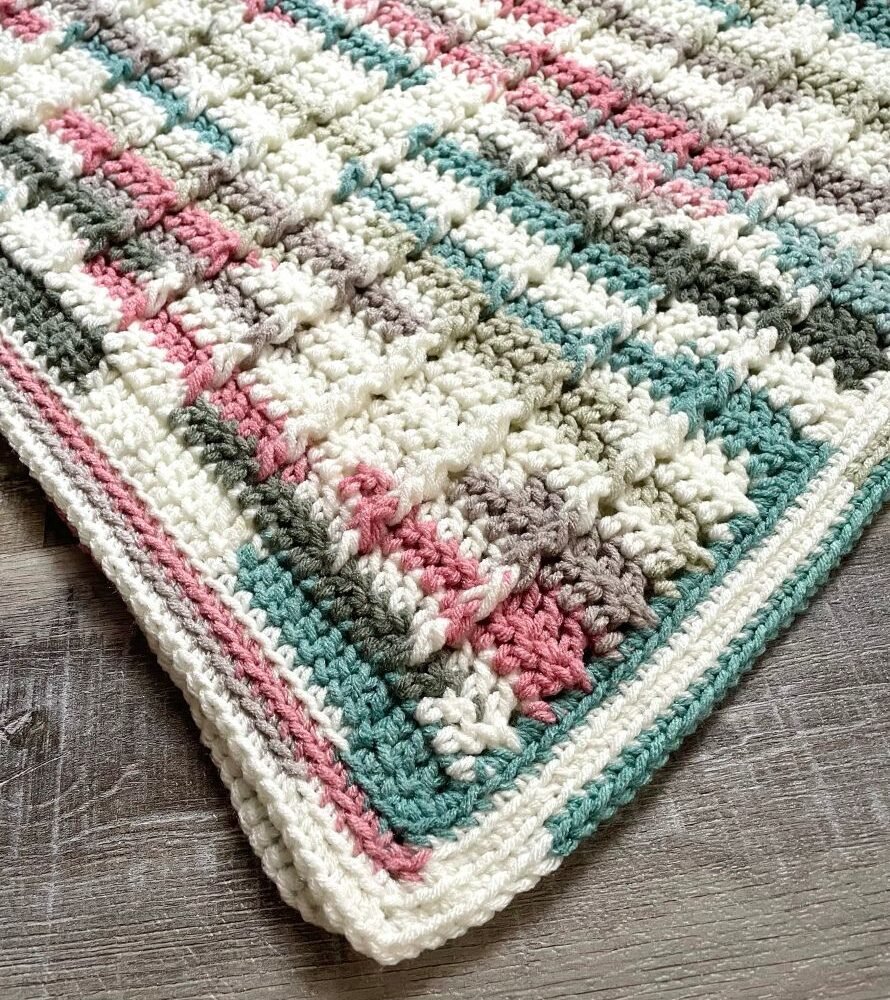
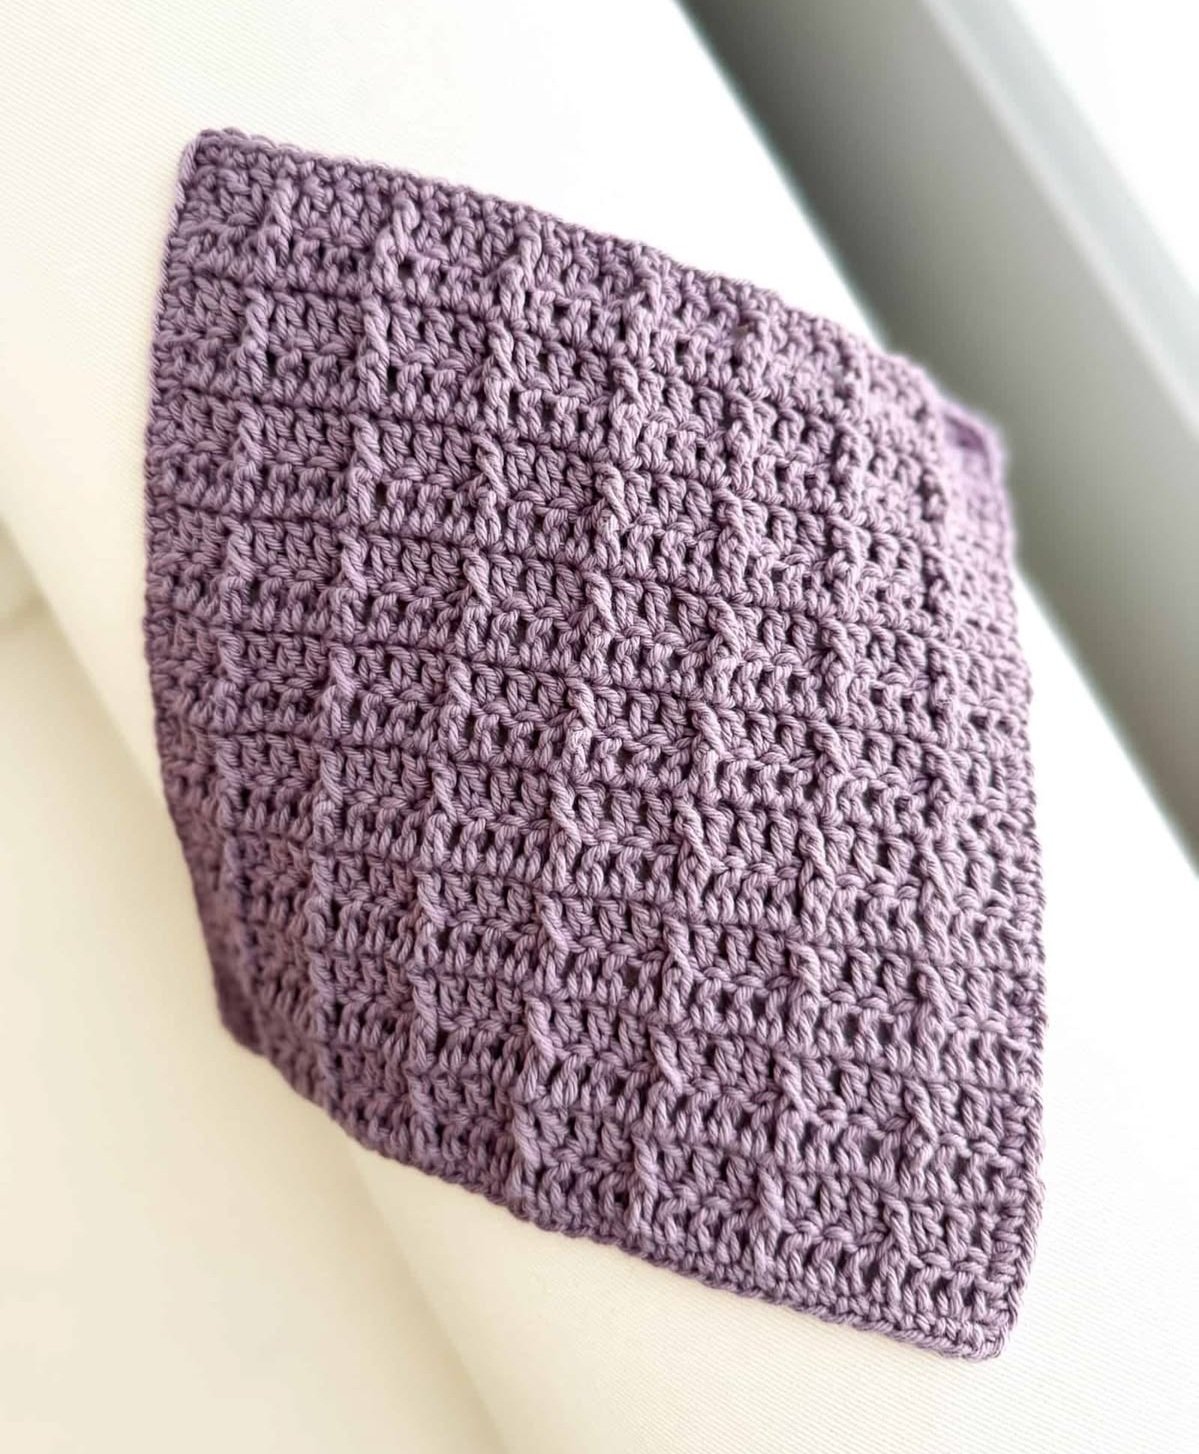
Hello and welcome to Bernat Crochet Patterns! Come on in and get cozy, because today we are making a blanket covered in raised columns, all thanks to one stitch: the front post double crochet. If you have never worked a post stitch before, this is a gentle place to start.
A post stitch is a double crochet that you work around the body of a stitch instead of into its top. When you go around it from the front, the stitch pops forward and sits on the surface of the fabric. Line them up row after row and you get tall, ribbed stripes that look a lot more complicated than they are.
This blanket keeps things simple. Every column is one post stitch with three regular double crochets between the columns. On the right side rows you work the front post stitch, and on the wrong side rows you work a back post stitch around the same column, which keeps every column raised on the front of the blanket.
I will show you how to make a small practice swatch first, and then how to use that swatch to pick the chain for any size you like, from a baby blanket to a lap blanket. Grab your hook and let\’s get going!
Materials
- Worsted weight (#4) yarn. How much you need depends on the size you choose, so buy a little extra from the same dye lot.
- 5.5 mm (I-9) crochet hook, or the size recommended on your yarn label
- Measuring tape
- Scissors
- Tapestry needle for weaving in ends
Abbreviations (US terms)
| ch | chain |
| sl st | slip stitch |
| sc | single crochet |
| dc | double crochet |
| st(s) | stitch(es) |
| yo | yarn over |
| RS | right side |
| WS | wrong side |
| * * | repeat the steps between the asterisks |
| FPdc | front post double crochet (see below) |
| BPdc | back post double crochet (see below) |
Special stitches
Front post double crochet (FPdc): Yo, insert your hook from front to back to front around the post (the body) of the stitch in the row below, so the hook passes behind that post. Yo and pull up a loop, then [yo and pull through 2 loops] twice.
Back post double crochet (BPdc): Yo, insert your hook from back to front to back around the post of the stitch in the row below, so the hook passes in front of that post. Yo and pull up a loop, then [yo and pull through 2 loops] twice.
Pattern notes
- The foundation chain is any multiple of 4, plus 5. The practice swatch uses 25 chains.
- The ch 2 at the beginning of each row does not count as a stitch. Work the first dc into the very first stitch and the last dc into the last real stitch, not into the turning chain.
- When you work a post stitch, skip the top of the stitch it wraps around, so the stitch count never changes.
- Row 1 is a wrong side row. From then on, even numbered rows are right side rows and odd numbered rows are wrong side rows.
- With 25 chains, every row has 23 stitches and 5 raised columns.
Instructions
Tick each step when you finish it: the page remembers where you stopped.
- Swatch Work the rows below on 25 chains until the swatch is about 4 inches tall. Lay it flat without stretching and measure its width. Divide 23 by that width to find how many stitches you get per inch.
- Plan your size Multiply your stitches per inch by the width you want. Baby blankets are often somewhere between 30 and 36 inches wide, and a lap blanket is often around 36 by 48 inches. Round your result to the nearest number that is a multiple of 4, plus 3, then add 2 chains for the foundation. For example, 139 stitches (4 x 34 + 3) needs 141 chains.
- Row 1 (WS) Ch 25 (or your planned number). Dc in the 3rd ch from the hook and in each ch across. (23 dc)
- Row 2 (RS) Ch 2, turn. Dc in each of the first 3 sts. *FPdc around the next st, dc in each of the next 3 sts*. Repeat from * across. (23 sts: 5 FPdc and 18 dc)
- Row 3 (WS) Ch 2, turn. Dc in each of the first 3 sts. *BPdc around the next st (this is the FPdc from the row before), dc in each of the next 3 sts*. Repeat from * across. (23 sts)
- Rows 4 and on Repeat Rows 2 and 3 until the blanket is as long as you like. Finish after a Row 3, so the right side faces you when you turn for the border. Do not fasten off.
- Border Turn so the right side faces you. Ch 1, 3 sc in the first st (corner), sc in each st across to the last st, 3 sc in the last st (corner). Working down the side, sc evenly along the row ends, about 2 sc in the side of each row. Work 3 sc in the first foundation st, sc in each foundation st across, and 3 sc in the last one. Sc evenly up the last side the same way. Join with a sl st to the first sc.
- Finish Cut the yarn, pull it through the loop and weave in all the ends with the tapestry needle.
Tip: If the border ruffles, you are adding too many sc along the sides. If it pulls in, add a few more. The goal is a border that lies flat.
VIDEO TUTORIAL
Look at those beautiful columns! Once you have worked a few rows, you will see how easy it is to find your place: every raised column tells you exactly where the next post stitch goes, so you almost never need to count.
This blanket is also a lovely way to practice post stitches before you move on to fancier textures like basketweave or cables. The more of them you make, the more even your tension will get, and you will soon be working them without thinking twice.
Thank you so much for crocheting with me today. Save this pattern so it is ready for your next gift, and come back soon to Bernat Crochet Patterns. There is always a warm seat and a new project waiting for you here.